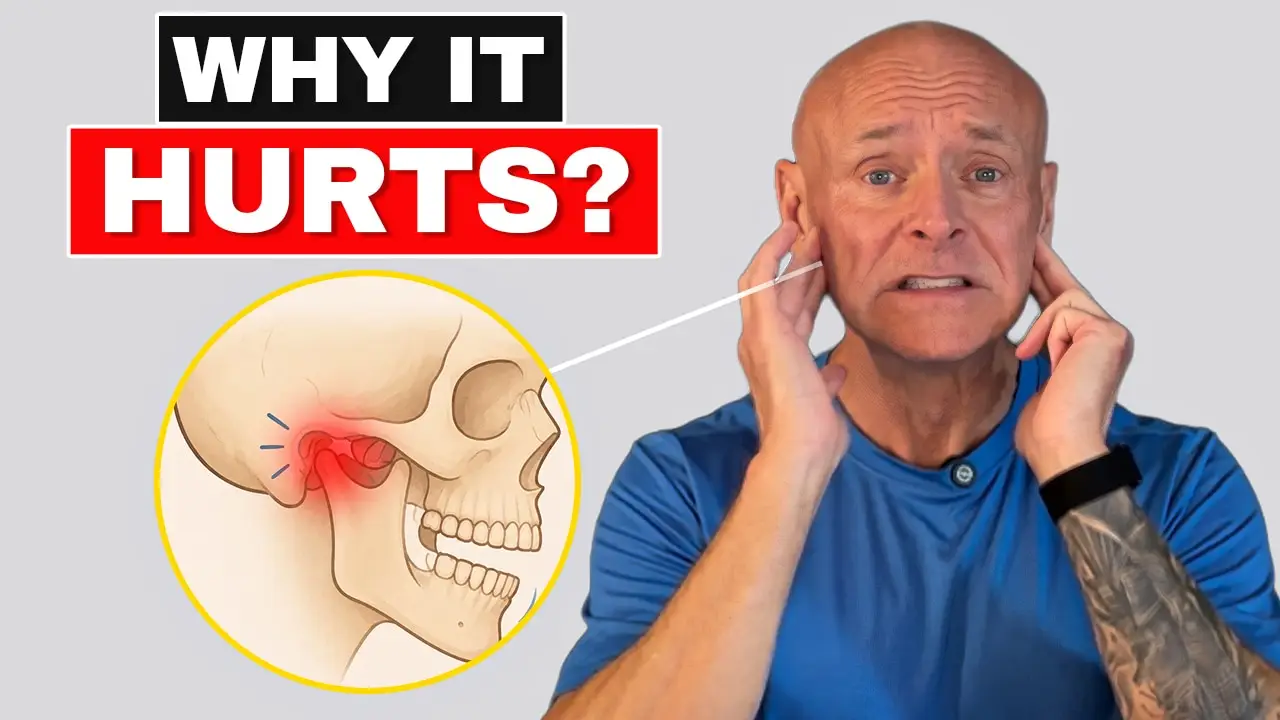
Stop treating your neck like your hamstrings, please, for the love of God.
I get very upset sometimes when I watch how people train their necks and how they’re trying to always deal with stiffness, kind of stretching the neck like they do the rest of the body. The reason that that can be extremely problematic is twofold.
Number one, at the top of your skull, right back here, which my bald head allows you to see very clearly, are your suboccipital muscles. And these are some of the most densely innervated with what are called muscle spindles, little nerve endings, of anywhere in the body. We actually have so many here compared to almost all of our postural muscles and our big muscles that I don’t think of these as muscles themselves.
I think of them as sensors. They are intimately connected, intricately connected to our eyes, our inner ear, helping our brain know exactly where our head and neck is in space. So if we get in there and really start cranking on them, especially if we’re doing it for extended periods of time and we don’t really know what we’re doing, there is a hidden risk there of actually causing your suboccipital muscles to give your brain bad information, which will actually make your neck tighter and not looser.
All right. So what we’re going to talk about today are some basic approaches that I strongly recommend for everyone that has a neck. Now, this might be people in pain. This might be kind of general fitness approaches, and it might be athletes. And I’m actually going to give you different versions of everything I’m talking about for the three different populations.
Everything we’re talking about, again, is based off how the brain and the neck tend to work together the best.
Because whenever we can make the neck motions feel safe to the brain, we often achieve much greater ranges of motion. We also get rid of pain very, very quickly. So that’s what we’re going to be dealing with.
Now, if you are a doctor, a therapist, a movement coach of any kind, Pilates, yoga, martial arts, you are a personal trainer, whatever, if you deal with movement professionally and you’re interested in bridging the gap between biomechanics and modern brain-based approaches, make sure to go to the pinned comment and get in touch with us because we’d love to share some information with you to see if we’re a good fit for where you want to take your work.
Having said that, let’s get into the neck.
The first thing that I want to focus on is just basic active range of motion training.
Most of the time when I see people doing mobility work for the neck or stretching, they’ll do some deep neck flexions. They’ll do some pulls to the side. Maybe they’ll add some rotation and do some more pulling.
Sometimes they’ll do something like this.
All fine. It’s a body part. It needs to go through range of motion, but I want you to consider it again from three different populations and I want to do this much more precisely.
Remember we said what we don’t want to do, generally speaking, particularly in the beginning, is cause a lot of issues for our suboccipital region.
The way that we’re going to do this is we’re going to approach neck training in a very kind of planar way, meaning multiple planes.
We’re going to do it slowly and we’re going to do it precisely.
Here are my population guidelines.
Let’s say we’re starting off with just basic rotation.
When we do basic rotation, if you currently have neck pain, let’s say your neck pain starts right here in right rotation, I want you to not go to pain. I want you to go about 70% of your pain-free range of motion and move slowly.
That’s it.
Don’t go close. Don’t bounce around trying to figure out how far can I go.We want you to accumulate a lot of repetitions of a safe range of motion.
If you are a kind of general population person, you’re not really trying to make your neck a lot stronger. You just want to make sure that it stays relatively mobile. You sit at a desk all day.
You want to work toward your full range of motion. When you get to that full range of motion, you’re going to add just a little bit of tension to it, like 10%, just to get a little bit of additional stretch.
If you are an athlete, particularly if you’re a combat sport athlete, contact sport of any kind, or you deal with a lot of velocity, we’re going to actually have to make this a little bit more challenging for you.
For my third population, my athletic population, whenever we’re getting to that end range of motion, you’re going to reach up with your opposite hand, and you’re going to do a small isometric, only about 10%, 20% effort into that full range of motion.
Those are approaches.
If you’re in pain, you don’t go full range.
If you have a general approach, you’re going to go to full range, not add a ton of isometric tension, just a little overpressure.
If you are athletic, you’re going to go to the end range, and you’re going to do a five to seven second low-grade, low-intensity isometric hold.
We’re going to do that in right rotation, left rotation.
We’re going to do that in right lateral flexion, left lateral flexion.
We’re going to do that in flexion.
We’re going to do that in extension.
We are going to try to then include anterior gliding and posterior gliding.
If you’re feeling really spicy and you have some time on your hands, you’re going to combine your anterior and posterior glides with some lateral gliding.
These, again, are all planar motions that we should have good motor control of our neck and be able to do.
I can then finalize all that from a motor control perspective by going into something like lateral flexion and then doing anterior-posterior gliding, lateral gliding, and even combining those into circular motions.
Once again, we’re still obeying our population-based rules.
You need to be doing this regularly because your neck tends to be a stabilizer, like a shock absorber in a car.
If something’s going wrong in the lower body or your brain is uncertain about what your eyes are doing, what your inner ear is doing, guess where one of the number one places for it to create tension is?
Your neck.
Typically, low back and neck are great targets when your brain doesn’t trust what’s going on.
In order to circumvent that, we need to make sure that our neck is staying nice and mobile and that we have control of it.
Now, after we have done our basic active range of motion work for the neck, we now need to combine or drive additional intelligence, if you want to say it that way, into the neck via vestibular stimulation.
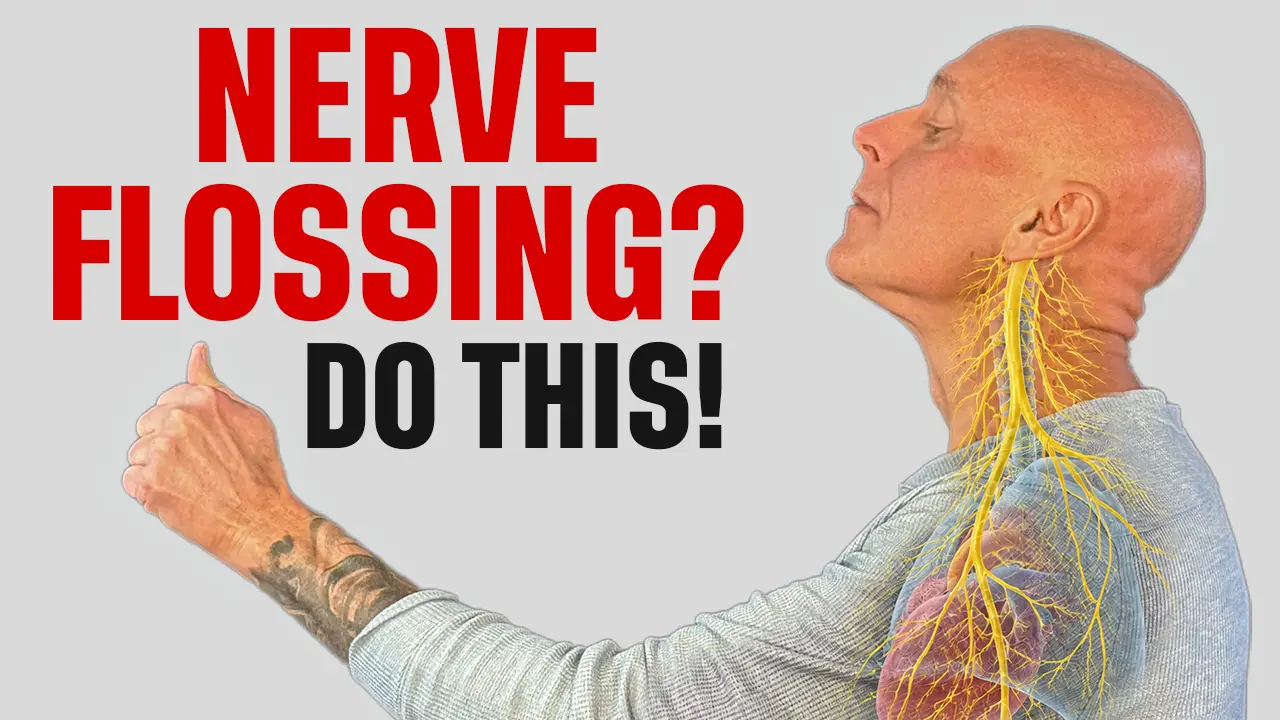
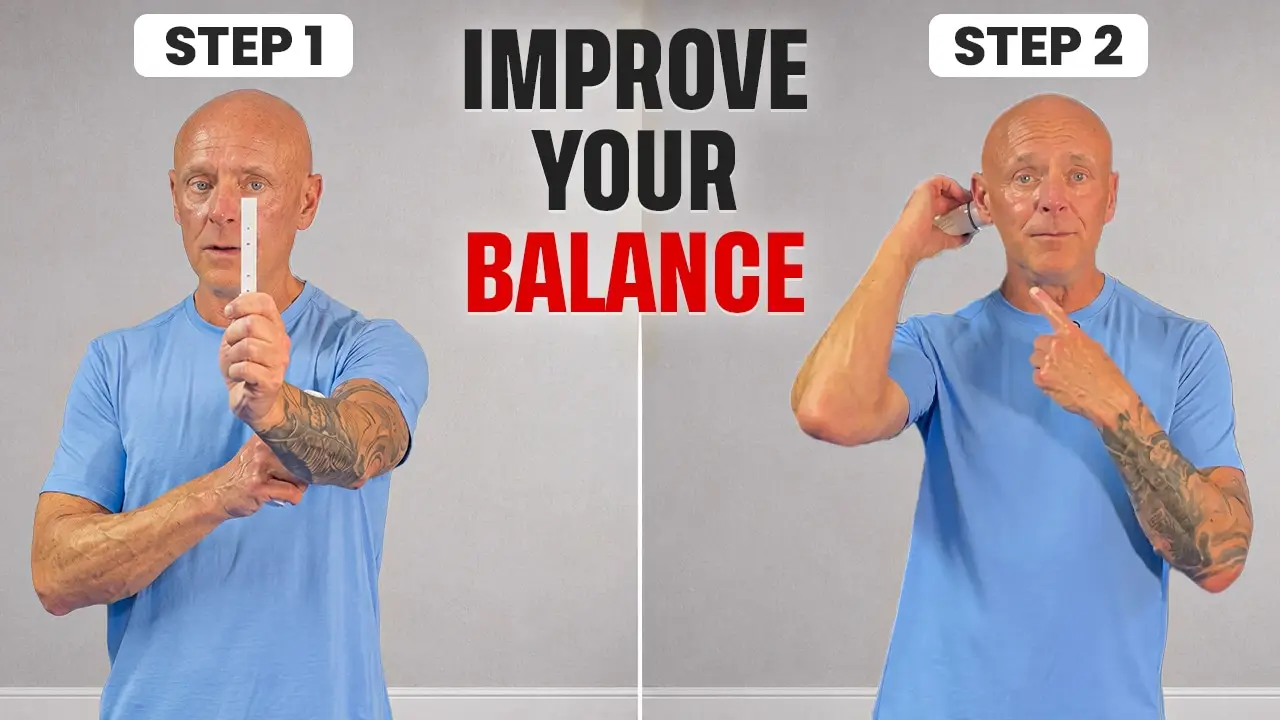
The easiest way to do this, work your inner ear, are basic, what are called vestibulo-ocular reflex exercises.
You’re going to come back, see how your neck is feeling after doing all your active range stuff.
Then you’re going to do a VOR.
The way that you’re going to do this, you’re going to take your thumb, you’re going to hold it in front of you. I want you to hold it at a distance in which you can see your thumbnail clearly.
If for whatever reason, because of lighting or whatever, you can’t really get a good clear picture of what your thumbnail looks like, use a book or use something with a letter or something that is very clear for you.
Because the goal here is for us to figure out how fast we can move without having whatever we’re looking at get blurry.
A basic VOR works like this.
I am going to hold my eyes on the target, and then I’m going to begin doing rotations right and left.
As you’re watching, what you should be able to see is that my eyes are not moving off my thumb.
This is a reflex.
This is what our eyes are supposed to do naturally whenever our vestibular system is working correctly.
Now, the next one we’re going to do is up and down.
Then we’re going to do side to side.
As we’re doing these, once again, we have kind of three population approaches.
If you have pain, you’re going to do very small and very slow.
Once again, my eyes are staying on the target, and I am making sure that I am not getting more pain.
I’m not going into a painful range of motion, and I want this to feel very safe.
Now, obviously, I’m doing this standing.
If you get any kind of dizziness or problems like that as you start doing this, number one, talk to your healthcare team.
Number two, if you want to keep trying it, sit down or lay down. Again, safety is the key here.
If you are in the general population, again, spend six hours a day looking at a computer, and you need to make sure that your eyes and your neck are working together, we’re going to do this a little bit faster and a little bit larger.
We’re going to be doing something about like this.
Now, as you get better at this, you’re going to go faster and faster, and you will extend the duration.
In most cases, regardless if you’re population one, two, or three, when you first start VORs, I’m going to have you do it for about 15 to 20 seconds.
Use your phone, set a timer.Once the timer stops, you stop.
You can do multiple sets, but I want you to keep the duration low.
As you become more comfortable with this, we’re going to be doing these about for one minute.
You can actually extend it beyond that, but that’s going to be your target after watching this video.
Now, my advanced or my athletic population, how are we going to do it?
We’re going to increase the speed and increase the range even more.
Now, I’m going to be doing something like this.
Again, I’m trying to start to emulate the amount of speed I may have to use in a sporting event.
The goal, once again, is to make sure that whatever you’re looking at remains clear.
That is your goalpost or your signpost, that if I start at this speed and this gets blurry, it’s too fast.
Now, if you are a really advanced athlete, obviously we can make this harder by putting our feet together, doing it in a staggered stance.We can make this more challenging.
I’ve got tons of information about that as well, but this is, again, your basic, what are called VOR exercises that will help, again, improve neck function after we’ve done our active range of motion work.
We do our active range of motion, and then we go to our vestibular stimulation.
From there, the next thing that we’re going to work on is what is called cervical ocular reflexes.
What does that mean?
Basically, it means that we’re going to fix our eyes and our head and neck on a target.
In this case, I’m going to use the camera. The camera’s my target, and now I’m going to be doing this.
I’m going to be moving my body underneath my head and neck.
This engages a different reflexive system, a different set of reflexive systems in the body.
It is called the cervical ocular reflex, and this is one that’s also very important to train.
What you’ll often see is, hey, I’m okay at this, but as soon as I start moving to the COR, I get a little bit dizzy or I feel a little bit less balanced.
Again, all this is aimed at making the neck safer for the brain.
If your brain does not feel safe keeping your head oriented in one direction as your body moves underneath it, that’s going to generate additional tension.
We have our active range of motion. We have our VOR reflex exercise. And then we have the COR, cervical ocular.
Obviously, I’m doing that primarily in rotation. You can do different versions of it into flexion extension.
You can do different versions of it into lateral flexion.
You just have to play with it.
In my population categories, once again, if I’m doing the COR and I have pain, what’s the rule? Slow and small. Don’t go to full range of motion and don’t go into pain and go as slow as you need to to be comfortable.
Population two, just want to have a healthy neck.
You’re going to move as far as, again, you kind of comfortably can.
What’s going to tell you what is comfortable is your actual neck tension.
We’re going to go until we start to feel, okay, I’m getting a little bit of a stretch.I’m getting a little bit of a stretch.
In the athletic population, we’re going to do the same thing.
We’re going to be going to that full range. The difference is I’m going to be going faster.
You start off 15 seconds, do multiple sets, and then work your way up 30 seconds up to a minute.
Once you’ve accomplished those three things, active range of motion, VOR, COR, last thing I’m going to have you focus on is those sensors at the top of your neck, your suboccipitals.
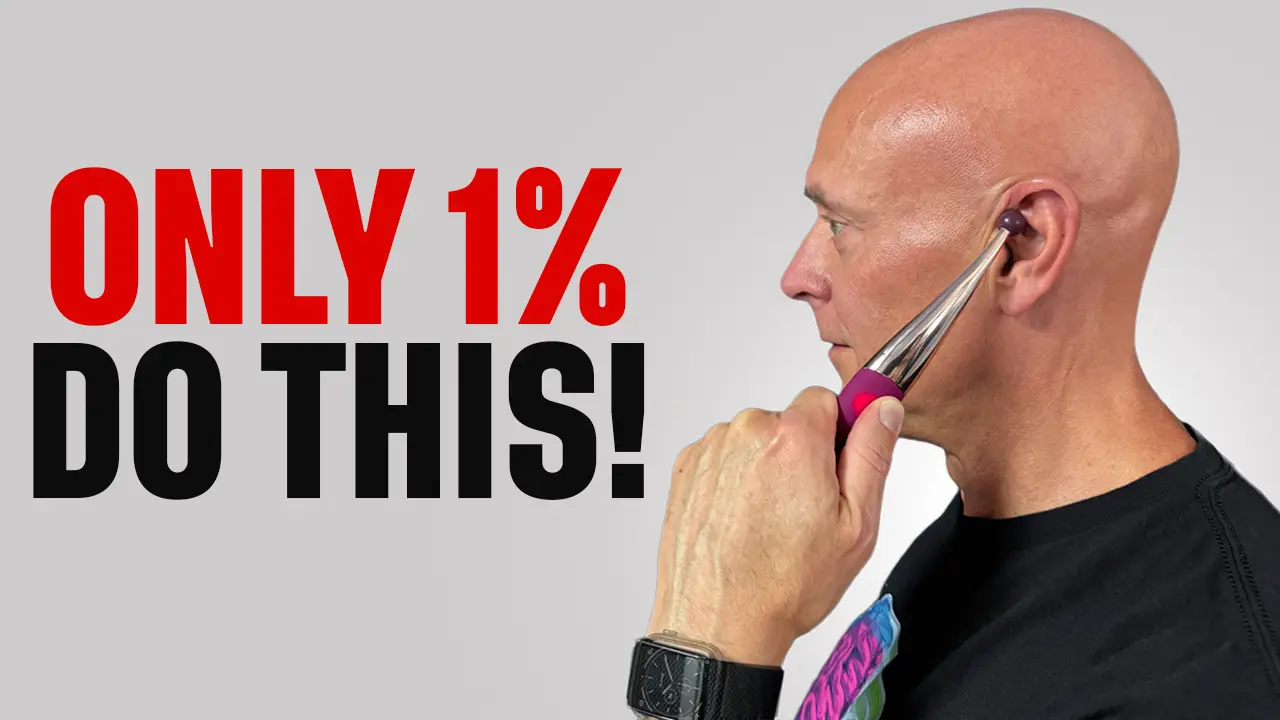
I’ve done a lot of different versions of this exercise over the years. I call it a sliding nod.
It is a very specific exercise aimed at creating awareness of your suboccipitals.
It is not a stretch, so I don’t want you to perceive it that way.
You’re going to feel a stretching sensation, but that’s not the goal.
The goal is awareness.
The way that we’re going to do this, I’m going to turn to the side, is I’m going to tuck my chin, and then I’m going to palpate these muscles.
All right, I find the base of my skull.
I come just underneath the base of my skull, and you will feel the muscles there.
Now, once you feel them, you’re going to tuck your chin, and you’re going to do a very small nod, and then you’re going to pull your chin back.
All right, so once again, you’re going to do a very small nod, and you’re going to pull your chin back.
That’s it. It’s very, very simple.
You’re going to do five to ten repetitions of that at roughly that speed, all right, and this applies for all the populations.
We’re not going to yank on it.
I don’t care if you’re athletic or dealing with pain. It just has to be governed to your comfort level, all right, so it’s a very small, very slow, very controlled movement.
Once you’ve done five repetitions facing directly forward, you’re going to turn your head about 20 degrees to the left and repeat.
Chin down, slide, chin down, slide, and then you’ll repeat that to the other side, so I’m here.
My chin goes down, and then I slide back.
You’ll feel side-to-side differences, particularly if this is new for you.
You may find that your right side is much more responsive, like that’s more of a pull.
If you find that, do a few additional reps on that side.
Once you have done these things, active range of motion, VOR, COR, and suboccipital mobilizations, go back and just retest and see how your neck feels.
This takes a little bit of time, but what I can guarantee you is that the vast majority of people that I’ve worked with over the last 30 years with any kind of neck issue, if we took care of appropriate, depending on where they are in the training cycle, if we take care of appropriate range of motion in all planes, if we then stimulate the vestibular system and the eyes through using the vestibuloocular reflex drills, and then we connect that to the cervical ocular, making sure that my brain feels safe with my body moving underneath a fixed head, and then we very specifically target the suboccipitals, at the end of that, they often will feel like they have a brand new neck.
All right?
So I want you to try it for yourself, and if it works really well for you, let us know.
And then obviously, if you’re a movement professional, start trying to incorporate some of this with your clients, because from a brain-based perspective, this is a very succinct way to start to really improve neck motion.
So finally, if you are a doctor, physical therapist, coach of any kind, you’re interested in bridging the gap between biomechanics and brain-based approaches, go to the pinned comment, get in contact with us, because we’d love to chat with you.