What if I told you that the reason your hamstrings still feel tight, even after years of stretching, has very little to do with the muscle? And this is something I’ve been talking about for about two decades. Why? Because since the early 1990s, we have known that if people stretch and stretch and stretch for years, there’s actually very little change in the length of the muscle itself.
So whenever we are trying to improve flexibility anywhere in the body—hamstrings, hip flexors, shoulders—what we’re actually doing is trying to change neural tone. We’re trying to adjust how the brain perceives these newfound ranges of motion that we’re trying to maintain.
So whenever we start to think about stretching from that perspective, hamstring flexibility, for whatever reason, continues to be a huge deal. People ask me about it all the time. I’ve done a bunch of videos on it, but I wanted to give you some more examples today of how to use brain-based exercises and brain-based approaches to make your brain feel safer about newfound range of motion.
So the very first thing that we’re going to look at is what we call a neuromechanic drill.
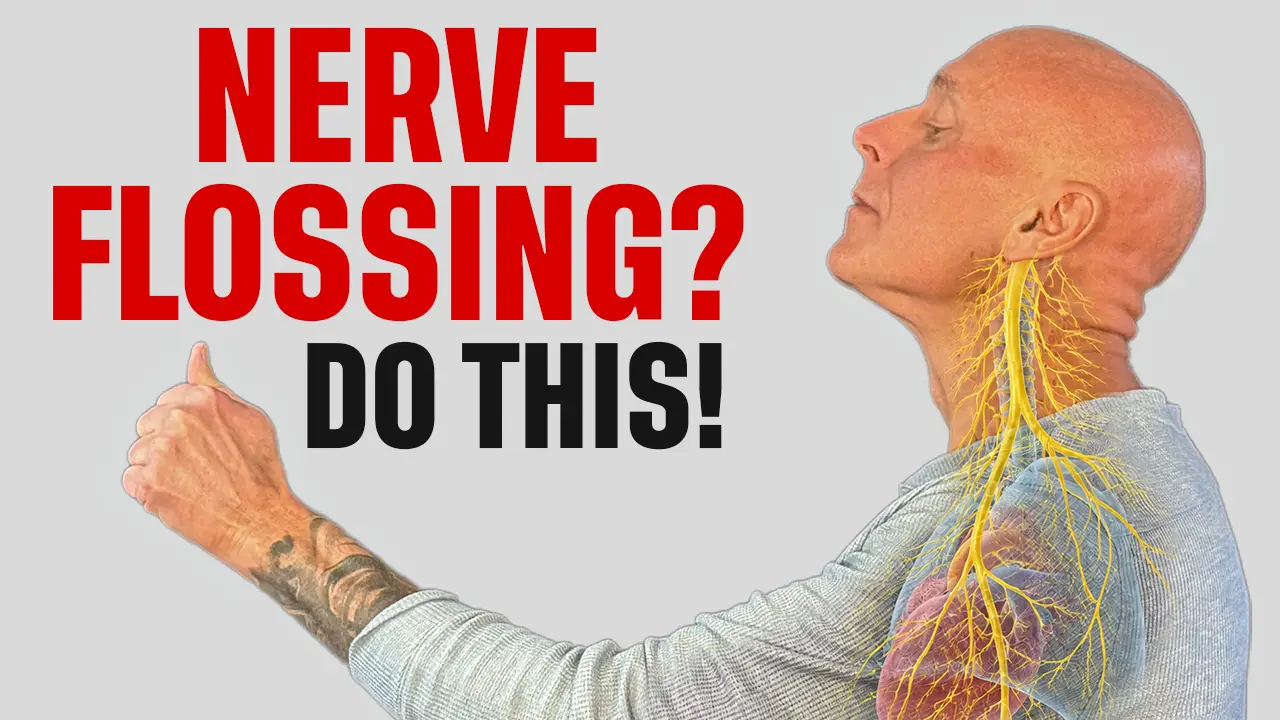
You may have heard of nerve flossing. And again, I have tons of blogs and Instagram posts on nerve flossing. It is an incredibly powerful tool, but I don’t want you to think of it specifically as a mechanical tool where we’re taking a nerve and tensioning it or flossing it through tissue because that’s mechanically what we’re doing.
What I want you to think of instead is that nerve flossing of any kind is a way to communicate to the brain that the most sensitive tissue in the periphery, which typically is the nerve, is actually trained to be in that position.
Because in general, what we’ve seen in research for about three decades now is that whenever we achieve a newfound range of motion, it is because the brain is developing what is called stretch tolerance. It means that your nervous system says, “Hey, before that was scary. Now it’s okay. So I’m going to give you that range.”There are a lot of things that play into that, but one of the very first things is your ability to move nerves through tissue.
So typically whenever you’re going to work on hamstring flexibility, we want to think about the sciatic nerve.
If I were to tell you there’s only one way to work on the sciatic nerve in terms of nerve flossing or nerve tensioning, I would be lying because the sciatic nerve becomes multiple nerves. So I’m going to show you a quick progression that you can do.And in order to do anything in Z-Health, we always assess, then do something, then reassess.
Now before we get into the neuromechanic drill, if you are a doctor, physical therapist, chiropractor, Pilates instructor, yoga instructor, movement professional of any kind, and you’re interested in bringing brain-based or neuroscience-applied approaches into what you’re already excellent at, make sure to go to the pinned comment and get in contact with us because we want to share some of this information with you and see if we’re a good fit.
What I want you to do first before we begin anything is get a picture of where your hamstrings are currently. Go ahead and do whatever you would normally do to warm up.
Whenever we are trying to look at flexibility in a given leg or shoulder internal rotation, if you go into the physical therapy literature looking at orthopedic testing, what we know is that before we begin testing, we need to achieve your normal range of motion. Otherwise the reassessment doesn’t really matter because you may have just been warming up.
In general, what we see in the literature is that whatever we’re going to be working on, you need to do somewhere between 8 and 20 repetitions before you get started with me.
So take two minutes, pause the video, and work on 8 to 20 repetitions of however you would normally stretch your hamstrings so that you have a good basis for where you are right now.
Once you’ve done that, come back and we’re going to start working on a sciatic nerve end divisions neuromechanic drill.
This is a drill where we’re going to put tension on the nerve itself and then sequentially move joints that are involved in the exercise.
Because when we do that, we are able to floss or move the nerve specifically in different areas where it is likely to be more entrapped due to surrounding tissue.
Let’s look at the sciatic progression.
The sciatic nerve actually becomes different divisions. So we have to work on the tibial nerve, the common fibular nerve (formerly called the common peroneal nerve), and the sural nerve.
The way we’re going to get to these three different nerves is pretty much the same setup, with the only difference being foot positions. Whenever we’re doing a neuromechanic drill, there are some key things to keep in mind.
Number one, we are going to be putting tension on the nerve. Whenever we put tension on the nerve, I want you to keep it at a three out of ten level.
The reason is that we’re using this not just mechanically to move the nerve, but to make the brain feel safe about how the nerve is interacting with gravity and the internal components of your body.
So we have to keep it at a three out of ten.
Whenever we are in position, we’re going to be moving different body parts while maintaining tension in other body parts.
There is a coordinative factor here that actually comes into play.
Here’s how we’re going to get our basic setup.
So here’s how we’re going to get our basic setup.
I’m going to do it standing. You can do it seated. You can do it lying down.
In general, what we need to do is get into the beginning of a hamstring stretch. So I’m going to put my leg forward. I’m going to pull my toes up.
And for the first one, the tibial nerve, my toes are going to go out. I’m going to lock my knee. I’m going to internally rotate my hip.
Now, when I internally rotate my hip, most people will actually let their toes move. So we want to make sure that when we do the internal hip rotation, the toes remain pointed to the outside.
From here, I’m going to flex my hip. I’m going to bend forward. And I’m also going to do lumbar flexion.
So whenever I get into that particular setup, again, I’ll be here: toes are up and out, knee is locked, hip is internally rotated. I’m going to hip hinge a little bit, and then I’m going to begin doing lumbar flexion. I will also flex my thoracic spine and my neck.
As I progressively add each of these body parts, I’ll feel tension building up in the nerve, and it will feel different than a traditional calf or hamstring stretch. It’s going to feel more nervy.
Whenever you’re getting that nervy sensation, you know you’re doing it correctly. But remember, three out of ten, right? Don’t scare your brain.
So once I’m in position, I’m going to pull the toes up and get into position for the tibial nerve.
What I’m going to do first is move my foot in and out. What that will look like from the front is this: I’m in position, I have my toes turned outward, and now I’m going to move my toes inward. So I’m going to take tension off the tibial nerve by doing this motion and then put it back on.
After I’ve worked the ankle, I’m then going to bend my knee and straighten my knee.
So again, toes are up and out. I’m in position. I’m going to flex my knee and straighten my knee.
Then I’m going to keep my toes up and out, keep my knee locked, turn my hip in, and turn my hip out.
Once I’ve done all of that, I’ll go to my pelvis.
So now I’m going to be in position and I’m going to do a posterior tilt and an anterior tilt of the pelvis.
And then finally, I will increase lumbar flexion and potentially add rotations or lateral bends to either side.
That is the tibial nerve portion of a sciatic nerve neuromechanic drill.
Once you’ve done all of that, your leg is probably already going to feel very different. But you’re not done yet with your neuromechanics. You have two more nerves.
I’m not going to take the time to go through all of them because the setup is exactly the same except for the foot position.
So the next one that we’re going to do is for the common fibular, or common peroneal, nerve.
For this one, rather than having my toes up and out, I’m going to do exactly the opposite. I’m going to point my toes down and in.
And if possible, I’m going to curl my toes inside my shoe.
When you do this particular portion of a neuromechanic drill, you’re typically going to need a deeper amount of flexion because, obviously, without having the toes in dorsiflexion, we’re taking some tension off the nerve.
So we typically have to get more flexion and maybe a little more internal hip rotation, but it’s exactly the same process.
I’m going to hold the toes down and in. I’ll get my tension. Then I’ll take the toes out and in, out and in.
Then I will go to my knee, then to my hip, and then to my pelvis.
So now we have done two of the three.
The third one is the sural nerve, which runs along the outside of your ankle.
It is a sensory nerve, but it still plays a very big role sometimes in sciatic tension overall.
The way that we get to this one is very simple.
We’re going to be doing the exact same position that we used for the tibial nerve. The only difference is that my toes are going to come up and in.
I’m going to hold that position. That will be my working position, as opposed to toes up and out.
If you work through all three of those, what you will have done is flossed and moved the sciatic nerve, via these three branches, through the toes, the foot, the ankle, the knee, the hip, the pelvis, the low back, and actually into the spinal cord.
In other words, if you’re trying to increase hamstring flexibility, you’ve just told your brain that not only is the general sciatic nerve safe, but all the little branches are safe as well.
As long as we do this correctly.
So do that on one leg, then the other leg. Work through that progression and then do what?
Go back and reassess.
Already, you should have a pretty significant perspective on whether or not your nerves are playing a big role in your hamstring flexibility.
Sometimes what will happen is you’ll do all this stuff and it won’t change anything.
What does that mean?
It means that nerve movement through the tissues and nerve tension are not the big issue for your brain.
That’s the cool part about doing this stuff this way.
Whenever we talk about flexibility and building flexibility by making the brain feel more safe, we can’t assume that every single thing is what actually makes the brain feel unsafe.
So we test it, and then we reassess every single time.
What you can do as you understand this is quickly build your own personal inventory of the things that your brain perceives as safe or unsafe.
And the things that are unsafe are the ones that are going to keep you locked up and tighter than you want to be.
So neuromechanics, working with nerve tension, is kind of step number one in this particular presentation.
Now from there, the question becomes: okay, what else could be making my brain feel unsafe about having more hamstring flexibility?
At this point, we have some options.
What I’m going to talk about now are cross-body reflexes.
Whenever we look at human gait, when people are in motion, we know that people don’t walk like toy soldiers. Instead, we have a contralateral gait pattern where my left leg is working with my right arm and vice versa as I’m walking.
Whenever we dive deeply into this—and again, this has been looked at—I think the first time I ever encountered this information was from some osteopaths in France in the 1920s talking about cross-body patterns of movement.
And obviously they were probably learning from people hundreds and thousands of years ago because you just have to watch people and go, “Huh, that makes sense.”
But now we have a lot of neurology behind this.
We have tried over the years to come up with ideas around joints and sling systems and fascial sling systems. And all those are real. They all exist.
But in terms of governing how muscles tend to interact with the environment—what’s tight, what’s loose—that’s a central nervous system thing.
So whenever we look at the gait cycle neurologically, what we tend to see is a very strong reflexive cross-body patterning that we can take advantage of.
When I say that this is kind of more focused, at least conceptually, toward the spinal cord and brainstem, it’s because a lot of what are called central pattern generators for gait and movement govern muscle synergies.How am I flexing? How am I extending? How is my right shoulder impacting my left hip?A lot of this is governed by reflexes in the spinal cord and the lower portion of the brain.
So can we use that to enhance flexibility?
Yes, we can.
There is something called the crossed extensor reflex. And the crossed extensor reflex basically means this:
Whenever I extend my left hip, there is a reflexive response, typically in the body, that causes flexion on the opposite side.
In your classic neurology textbooks, this is taught like this:
You’re walking through the woods, you step on something sharp, and you immediately withdraw.
Whenever we do that quick withdrawal, this hip flexion, guess what?
If the extensors don’t kick on over on the other side, we’re going to fall.
So we have this lower-body crossed extensor reflex that we can potentially use to increase hamstring flexibility.
The easiest way to experience this is on the ground.
So I’m going to lie down.
What you’re going to do is lie down with both legs out. Take one leg and perform an active straight-leg raise.
I don’t care how far you go.
Could be here. Could be here. Could be here.
It doesn’t matter to me.
Make sure you’ve warmed it up and done your repetitions.
Get an idea of your current range of motion.
Now, having done that, the next thing I want you to do is contract the quadriceps.
Lock your knee pretty hard on that side and see what happens.
Most of the time when people are first doing this, they’re not really testing because they don’t actually have full knee extension.
So check that.
Now after you’ve done your warm-up, what you’re going to do next is take the leg that’s on the ground—not the one that’s doing the straight-leg raise, but the one in contact with the ground.
You’re going to push your heel really hard into the ground.
We want to contract the extensors.
And as we do that, most of the time we’re going to see an improvement in hamstring range of motion.
I like to use this particular approach because it’s active. We are actually engaging musculature.
And for the most part, active range of motion, from my perspective, is probably more useful for most of us and most of our activities than passive range of motion, which is what a lot of people achieve with traditional stretching.
We can take this a step further. And this is really interesting. Instead of using the lower body, we can also use the upper body. It’s the same process.
If I’m here and I get my range of motion with an active straight-leg raise, I can take my opposite arm, put it on the floor, and engage my lat and shoulder extensors by pushing my fist into the floor this way.
So I’m pushing hard.
As I’m pushing hard, I often get an increase in my straight-leg raise on the opposite side.
This is a little weird and a little confusing.
And when people start thinking about it, they’re like, “But in the gait cycle, why would that work? Because my left leg’s flexing and my right shoulder’s flexing.”
It’s about timing.
There’s a lot of discussion about this in neurology. We’re still trying to figure it out exactly.
But what we do know is that in the gait cycle, there is a lot of cyclical timing involved in balancing the heavy weight of the leg moving forward with the relatively lighter weight of the upper body.
The upper body provides stability through your thorax so that whenever we walk, we don’t rotate so much.
What does that all mean?
It means that by activating your shoulder extensors on that side, you can often increase flexibility on the opposite side.
So we have those two things so far:
Neuromechanic drills and utilizing some of these cross-body patterns to help you achieve new ranges of motion in a way that is safe for your brain.
The last thing I want to show you today is using your eyes and your vestibular system.
This is a really fascinating topic.
It’s also going to look super weird until you try it.
I’m guessing that for a lot of you watching this, this is going to be the biggest benefit and biggest payoff.
Why?
Because most of the tension in our body is honestly governed by what we’re experiencing visually and how our eyes and vestibular system are interacting with the environment.
There is something in our wiring that deals with what is called an optokinetic field.
All right?
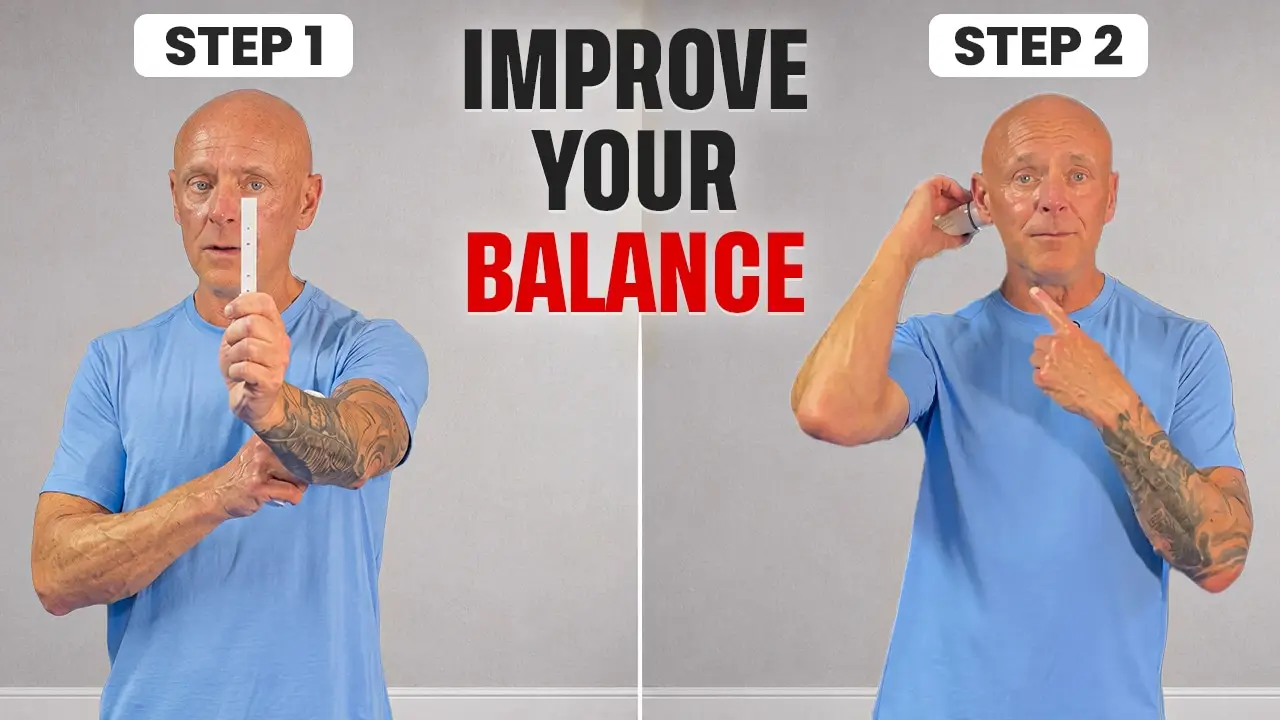
So what you can see on the camera or on my phone right now are stripes that are moving.
Imagine that I was in a car driving down the freeway in a rural area and all these light poles or power poles are passing by.
As I’m driving the car, those things are passing through my periphery.
This generates something in our brains and nervous system called an optokinetic response.
Now here’s what’s fascinating about it.
If you can see these stripes right now, the stripes are moving behind me.
If I were to hold this in my peripheral field, the stripes would be moving backward.
In vestibular therapy there are actually entire rooms where you’re standing inside a room and the walls are doing this.
What your brain perceives is that if this stuff is moving like this, especially if it was moving fast, it tells the brain that I am moving forward.
Hopefully that makes sense to you.
That’s the optokinetic response to this striped motion.
Your brain says, “Oh my gosh, you’re moving forward.”
So what would it do to prevent you from falling?
It would engage your posterior musculature—your extensors.
You can download these apps for free.
It’s called an optokinetic strip.
You can also go on YouTube and find tons of them because people are becoming more familiar with them.
What you’re going to do first is test your current range of motion.
Then you’re going to start with the stripes moving backward.
I like to put it directly beside my eyes.
Whenever possible, I’ll turn so you can see it.
It’s directly beside my eyes.
I will often cover the rest of my face as much as possible because one of the things we know about optokinetic responses is that the less additional visual information we receive, the stronger the response tends to be.
So I’m going to hold there for about 30 seconds.
Then I’m going to stop and retest my range of motion.
And for me, instant change.
Now for some people, instigating extensor tone works.
It actually makes the brain feel safer.
So their hamstrings get more flexible.
Some people, however, need the opposite.
Because now the stripes are moving forward.
What would that typically make my brain think?
If something is moving this way, it means my body is falling this way.
If my body is falling this way, what does it want to do to my posterior chain?
It says, “Stop contracting. Relax.”
So probably 40% of you, if you do this, are going to need the stripes running forward.
And you can do this on each side.
So once again, I’ll show you.
Stripes are running forward for me.
Thirty seconds.
I’m going to skip the full 30 seconds.
But right now my brain is getting this indication that we need to relax the posterior chain because you’re falling.
We don’t want to contract so that you fall more.
So I’ve done that.
Then I come back and retest.
And I’m much tighter.
And that is probably what many of you will experience.
One direction of optokinetic stimulation will relax your hamstrings and allow you more range of motion.The opposite direction will make you tighter.
This is super fascinating when you start thinking about riding in cars, riding in trains, being out running, or even running backward.
Because optokinetic stimulation is incredibly powerful.
I think it’s a tool that most people outside the brain-based world have no clue about.
But I guarantee you, because of some of the effects we’re seeing in clinical research using optokinetic stimulation, it’s coming.
And you can be well ahead of the curve and start figuring out how to use it for yourself.
All right.
So we’ve talked about four things.
We talked about neuromechanic drills for the sciatic nerve. We broke that into three parts.
We talked about crossed-extensor reflexes where we’re using either the lower extremity or upper extremity to gain additional hamstring flexibility on the opposite side.
And then we talked about optokinetic stimulation with the stripes running forward or backward.
I hope that you’ll take the time to watch this, understand it, and play with these ideas. Because if you need something to convince you to stop worrying about muscle length when trying to improve hamstring flexibility, this is some of the most important stuff I can show you.
What we’re discussing here is that people want to be more flexible. It’s not going to happen just from yanking on those muscles forever.
We have to make the brain feel safe.
And we have to work with the reflexes that allow us to move through the world safely.
So I hope you enjoyed this.
Again, if you’re a doctor, therapist, movement professional of any kind, Pilates instructor, yoga instructor, personal trainer, athletic coach, or someone who works with athletes and you’re interested in bridging the gap between biomechanics and brain-based approaches, make sure to contact us. We would love to share the information with you. Other than that, enjoy.