This week, we’re looking at advanced versions of carpal tunnel relief exercises.
Last week, we looked at a banded version of what we call a “median nerve, nerve flossing technique,” which is great often when people have carpal tunnel issues.
https://zhealtheducation.com/carpal-tunnel-arm-pain-relief-part-1-episode-333/
Now, what I want to show you this week is another more advanced version of that. You can use this particular version for strengthening. You can also use it if you’re having pain, you’re trying to get rid of that along with other therapy you may be undergoing. Now, if you have not watched the original videos on our nerve flossing, you need to watch that.
We’ll include the link below this.
Blog 21: What to do for pain in your hands – Part 1
Blog 22: What to do for pain in your hands – Part 2
Carpal Tunnel Relief – Getting Set Up
The most important thing to me in this is your own safety, so whenever we start getting into these positions where the nerve is under stress, you need to keep the intensity around a 3 out of 10, and do 3-5 repetitions, and no more than that. Then give yourself a rest, and then restart.
It’s very essential that you not overstretch your nerves, that you don’t irritate them. Now, another big thing, if you have severe carpal tunnel issues on the right side of your body, I would highly recommend that you do all of the exercises that I’m showing you on the opposite side to begin with.
There is a lot of research around this. Very often if you’re having right side carpal tunnel problems, we can work on the left-side nerve, and because of the way it tractions, the median nerve on the right side through the spinal cord, you can get some relief that way. It’s really essential that you do not increase your pain from any of these exercises, all right?
To remind you of last week, we went through a simple gripping of the band, pushing out like this. If you noticed in last week’s video, I made sure that the band was around my palm. I do not want to have it around my fingers. If I put the band around my fingers, the amount of stretch and stress on my wrist is probably too much.
I’m just going to keep the band around my palm.
Carpal Tunnel Relief – Strength Advancements
Now, what I want to do for this week is I want to show you a solution, again, using bands. As I mentioned before, we use a lot of bands in our program because we can load mobility.
If you’re familiar with our Strength Gym products, we use bands all the time to go all right, if we want to have smarter elbow, smarter feet, sometimes just doing basic mobility is insufficient.

We have to add stress to it, and that’s what bands are for because it allows you to do all kind of cool movements.
What we want to look at this week is using two bands rather than one. What we’re going to do for this particular setup is we’re going to use the heavier band.
Carpal Tunnel Relief – Exercise #1
In this case, I’m using a red band. I’ve put it under my right-side foot. I want you to put it under the foot on the side that you’re going to be exercising. I’m going to be working on my right arm, so again, the band’s under my right foot. I’m then going to carefully pull the band up and place it over the same side shoulder.
Now, the band is going to help me hold my shoulder blade down. Whenever we’re doing any kind of neuromechanic drill or these nerve flossing drills, keeping the shoulder blade down is one of the most essential pieces to having it be a good exercise.
Now, so I’m going to kind of passively, if you will, use this to begin with to help me with my setup. Then I’m going to go to a lighter band. In this case, I’m using this really small orange band, and I’ll go to the same setup as the last blog.
Now, once again, I’m going to push out.
Again, I said this is an advanced version, so what I have now is I have the band pulling me down. I have my basic setup, fingers pointing to the ceiling, elbow locked, nice and tall.
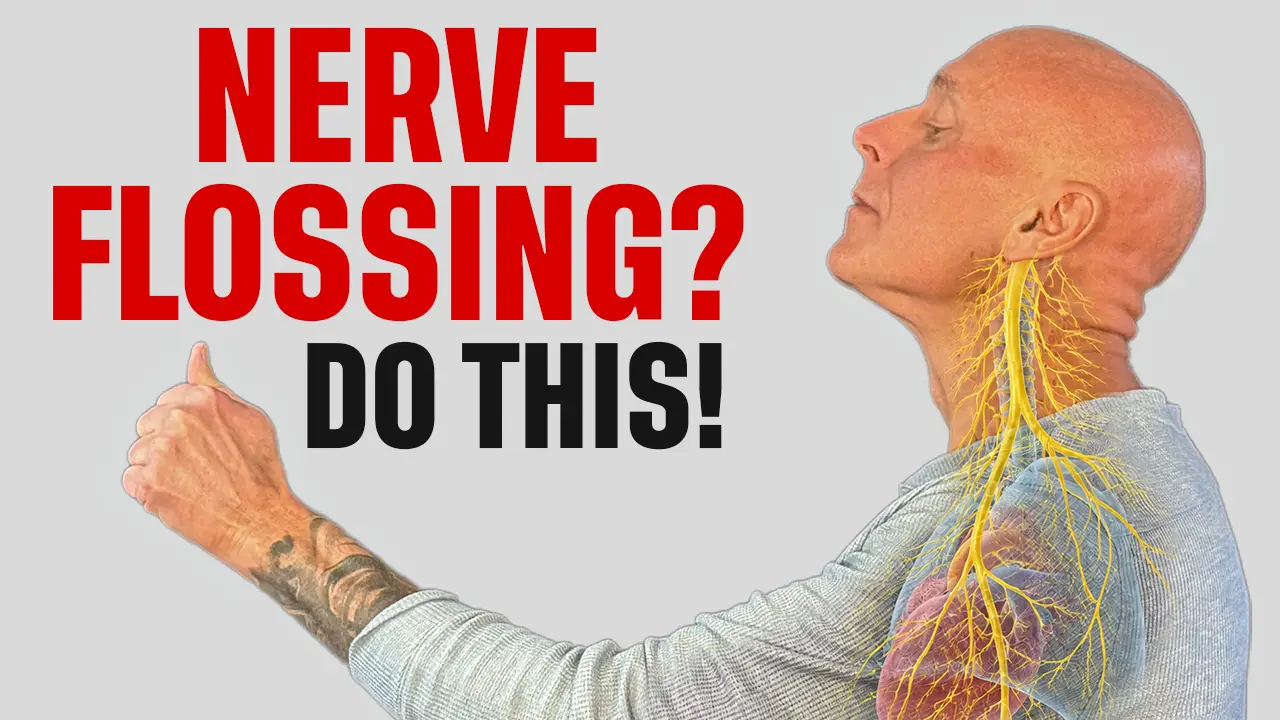
What I’m going to do from here is I’m just going to tilt my head away and just simply push my palm forward. My basic exercise is just going to be this. Now, with that particular motion, I’m getting a nerve floss that goes all the way from my neck down to my hands. I’m going to do 4 or 5 reps of that, relax. Shake that out.
Carpal Tunnel Relief – Exercise #2
Then I’m going to repeat what we did last time with my fingers pointed out to the side. Again, nice and tall. Tilt my head away. Again, pushing out. Just back and forth. This nice comfortable mobilization.
Carpal Tunnel Relief – Exercise #3
Now, from here, to add a little bit of strengthening to this, what we’re going to do, we’re going to finish up with a set of 5-6 repetitions of this position. Again, my fingers are pointed out to the side, elbows locked, I’m nice and tall. I’m going to push out. Now I’m going to actually elevate my shoulder against the band, head tilt away, and then actively pull down.
I have multiple things going. I’m pushing forward, lifting up, and pulling down all at the same time. The use of the bands, again, will help you create some very specific strength. It’ll help you learn how to control your scapula better. It will also position you so that you can get a little bit more stress on that nerve.
Now that we’ve kind of covered the basic setup, I’m going to turn because I want you to be able to see the motions really clearly. I’m going to rotate like this. Now, our first exercise, make sure your bands are secured nicely so they don’t slide off.
Again, I’m going to be here, nice and tall.
Carpal Tunnel Relief – Exercise Review
Our first exercise, remember, our fingers are going to be pointed toward the ceiling. I’m going to press out, get nice and tall. Now, from here, because the band is helping keep my shoulder blade down, all that I’m going to do to begin with is tilt my head away and then press forward and pull back. Press forward and pull back. I’m going to do 3-5 reps of that.
I may try to increase the distance that I’m traveling, or, if I need more pressure in order to feel like I’m doing something important, I can press this hand out so that I actually increase the tension on the band. That’s version number 1.
Version number 2 is I’m going to set here, turn my fingers out to the side. This is going to be usually a little bit more intense. Once again, I’m going to be here. Tilt my head away, and then lengthen forward. Again, I’m pushing out against that band resistance, and this band is helping control my shoulder.
Our third version, then, is the most complicated. It’s also going to require and help you build some very specific strength to control your scapula. For this one, I’m going to again start out with my fingers pointed out to the side.
Now, I’m going to push my hand forward. From here, I’m going to elevate my scapula and pull my scapula down. You can do that a couple times just to get comfortable with it. Then the whole exercise is tilt your head away, push forward, elevate, pull down, elevate, pull down. Just like that.
Carpal Tunnel Relief – Summary
Those are the 3 different versions. Again, because we’re trying to glide that nerve or floss that nerve, getting a little bit of distance between the palm and the shoulder will help put it under some load.
This is a 2-band version of a couple different drills you can do if you are trying to rehabilitate from a carpal tunnel injury, or maybe you’re doing therapy post-surgery. Again, be very careful with the amount of tension you apply.
What you’ll often find is the addition of the bands, having something to push against, will improve your strength, it’ll improve your mobility, and it also helps your brain figure out the motions that are required in order to do the exercise correctly.
Give this a shot.
If you have any questions, please let us know.